ASF Fellowship - Skill Development Week 2

Summary - I completed second week of two pole lathe skill development sessions with Jarrod Dahl at the Woodspirit School of Traditional Craft. We focused on end grain cup turning, tool making for end grain cups, and turning locking lidded boxes. This project is funded by The American Scandinavian Foundation through an Artist Fellowship.
I returned recently from my second of two 5-day sessions studying pole lathe turning with Jarrod Dahl, one of the leading pole lathe turners in the world, at the Woodspirit School of Traditional Craft in Ashland WI. Apprenticing with Jarrod is one of three phases of a project I’m working on this year funded by The American Scandinavian Foundation through an Artist Fellowship. You can read more about the my project here.

Jazmin Hicks-Dahl and her husband Jarrod founded the Woodspirit School where they coordinate an array of courses and events that empower people to acquire new skills, refine existing ones, express their creativity, and connect with natural materials through traditional handcraft.
Day 1:
At the end of the January study session, Jarrod had taught me how to turn one of the several box styles that were turned in large scale in Borås Sweden from the 17th-19th centuries. We decided to pick up where we left off by turning a second style of lidded box that was produced in Borås. This style of box has a lid with tabs that correspond with carved openings on the rim of the container that allow the two pieces to join and lock when turned. Many single container boxes were made in with this style of locking mechanism, however there are some very fascinating examples of this mechanism used to create stacked locking boxes. In addition to learning the ins-and-outs of turning these very closed form locking boxes, I requested that Jarrod walk me through turning a two layer box.

Front and center is the two layer box Jarrod walked me through turning on day1. The two boxes behind it are antiques; Jarrod’s on the left, mine on the right. Lastly, in the back are a few single container boxes I made between our January and February sessions.


While turning the first layer of the two tiered box, Jarrod instructed me on how to effectively turn the interior of a very closed form vessel using a nesting hook while spinning the lathe in reverse. This technique took a bit of practice for me to get a feel for, particularly since I’m so used to moving the tool from right to left, and the forces of the cut are very different with the work moving in reverse.


Once the first container was off the lathe, the next step is to turn a second cylinder that fits the opening of the container. This second cylinder will become the lid for the first container, as well as the second container. When it came to cutting turning the locking tabs, Jarrod taught me how to use a scraper tool that he forged specifically for turning the flange that would later be carved into the tabs for the lock.


Once the flange was turned, I turned the exterior of the second container to a shape that compliments the first container, then I began hollowing. Hollowing the second container was very challenging as the opening between the rim and the core is very small, which greatly limits the tool approach. Once the second container was free, a third piece is mounted and turned for the lid, turning a flange with the scraper tool just as was done for the bottom of the second container.


Tabs are then carved from the flanges on the underside of the lid and second container, then notches are carved in the rims of both containers to correspond with one of the two flanges.


Day 2:
In the AM the shop got a jump start on warming up as we lit the forge and took turns drawing out steel for end grain cup turning tools. The two end grain turning tools Jarrod taught me how to make are designed for hollowing cups. The first tool, a diving tool, is meant for increasing the depth of the channel between the core and the inside wall of a cup. The second, an end grain finishing tool, is made to create a smooth controlled finishing cut from the base of the inside of the cup towards the rim.


The tools above are end grain hollowing tools Jarrod instructed me on making. The Top tool is a end grain finishing tool. The bottom tool is a diving/plunging tool.
While we were drawing out the steel, the propane was running low so I shifted gears to preparing cup blanks to Jarrods specs from some black cherry wood before making a propane refill trip at lunch.


With a fresh tank of propane in the afternoon, the forge was lit and Jarrod and I continued with making the end grain finishing hooks.
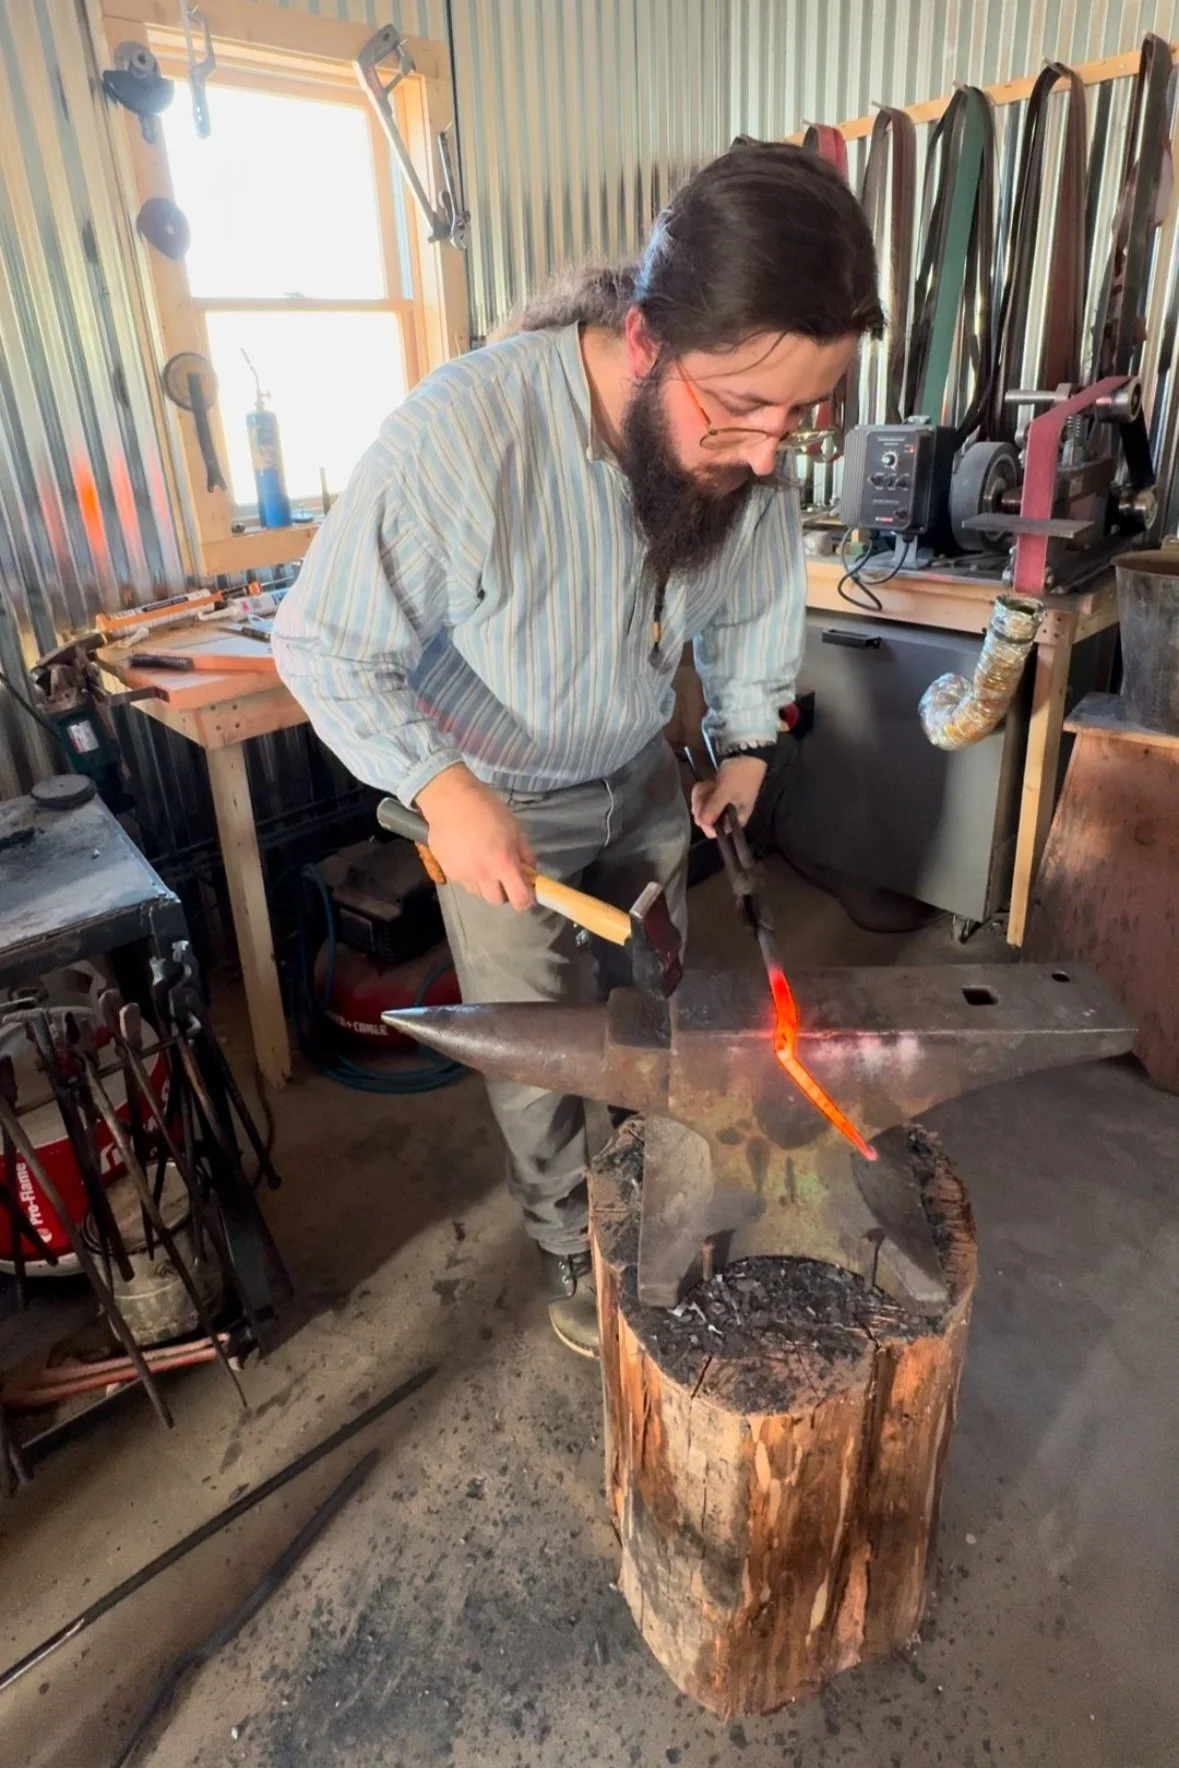
Forging the bend of the diving hook was a fascinating process it highlighted the malleable nature of hot steel. The two bends for this tool were made simultaneously while striking the lower bend over the far edge of the anvil. At the same time the lower bend was introduced with the hammer at the edge of the anvil, the second softer bend formed on the unsupported metal in the opposite direction from the downward force of the hammer. All that was needed was a slight adjustment of the softer second bend so that the scroll at the end of the tool fell in line with the tool shaft.


The last task of the day was to prep the exterior of a cup to be hollowed in the morning. Prior to this trip, I had done very little end grain turning on a pole lathe. Jarrod gave me a refresher on spindle turning with a standard hook tool. Although a hook tool isn't as effective as a gouge with spindle turning, the technique used with the hook tool becomes more relevant when turning between projections, which I’ll speak more about later. After turning a short cup I prepared a taller cup to to hollow the next morning.


Day 3:
Practice practice practice. End grain hollowing is not only a different approach/application of cutting theory with hook tools, it also is very taxing. I spent the entire third day practicing the techniques that Jarrod taught me, as well as getting comfortable with myself in a beginner mindset. At one point I expressed to Jarrod my frustration with constant catches while using the plunging/hollowing tool. Jarrod reminded me that this technique is difficult, and that it takes persistence to build the sensory memory of both good and bad cuts. He told me “A master has failed far more times than a beginner has even attempted.”
Towards the end of one of the cups Jarrod introduced me to a third tool for end grain cup hollowing on a pole lathe that he designed for undercutting the core. I don’t have an image of his tool, however you’ll see a copy I made further below on day 4.


Day 4:
End grain turning with projections was our focus for day 4. Turning the space between a projecting piece of wood, in this case a cup with a handle, is something that can only be done using reciprocal turning. Since a pole lathe is reciprocal, the travel of the pedal can be limited so that the operator can turn less than one full rotation while making a cut. Since each cut made stops when the tool reaches the projection, some contemporary pole lathe turners have been referring to this technique as “stop turning” which was coined by Geoff Hannis in the UK. When speaking with Geoff about this technique, he shared with me that the term “stop turning” seemed to resonate more with the general public he engages with when demonstrating. Although there are historical instances of this technique being used in both end grain and side grain turning throughout Europe, any terminology related to it either doesn’t exist or has not been recovered and brought into the contemporary turning lexicon. One of my favorite historical example of this technique is a tappskål turned in Sweden.


The workflow for turning with a projection begins with a cup blank with a projection that has been sized wider than the final intended width of the handle (I’ll explain why later). Above and below handle projection the lathe can be turned as normal, so an overall shape is established from foot to rim without turning the space between the handle. Once the exterior form of the cup above and below the handle is established, the work is taken off the lathe and any large amount of wood removal around the projection is done with an axe. This step eliminates a lot of needless stop turning to reduce this material. Once mounted back on the lathe, the stop turning begins with the cuts terminating on one side of the handle. The work is then flipped between the centers to allow the cuts to terminate at the other side of the handle. When a form is settled on from base to rim, the projection is cut to a narrower, nearly final width, and small light cuts are made to continue the turned surface as close as possible to either side of the handle.

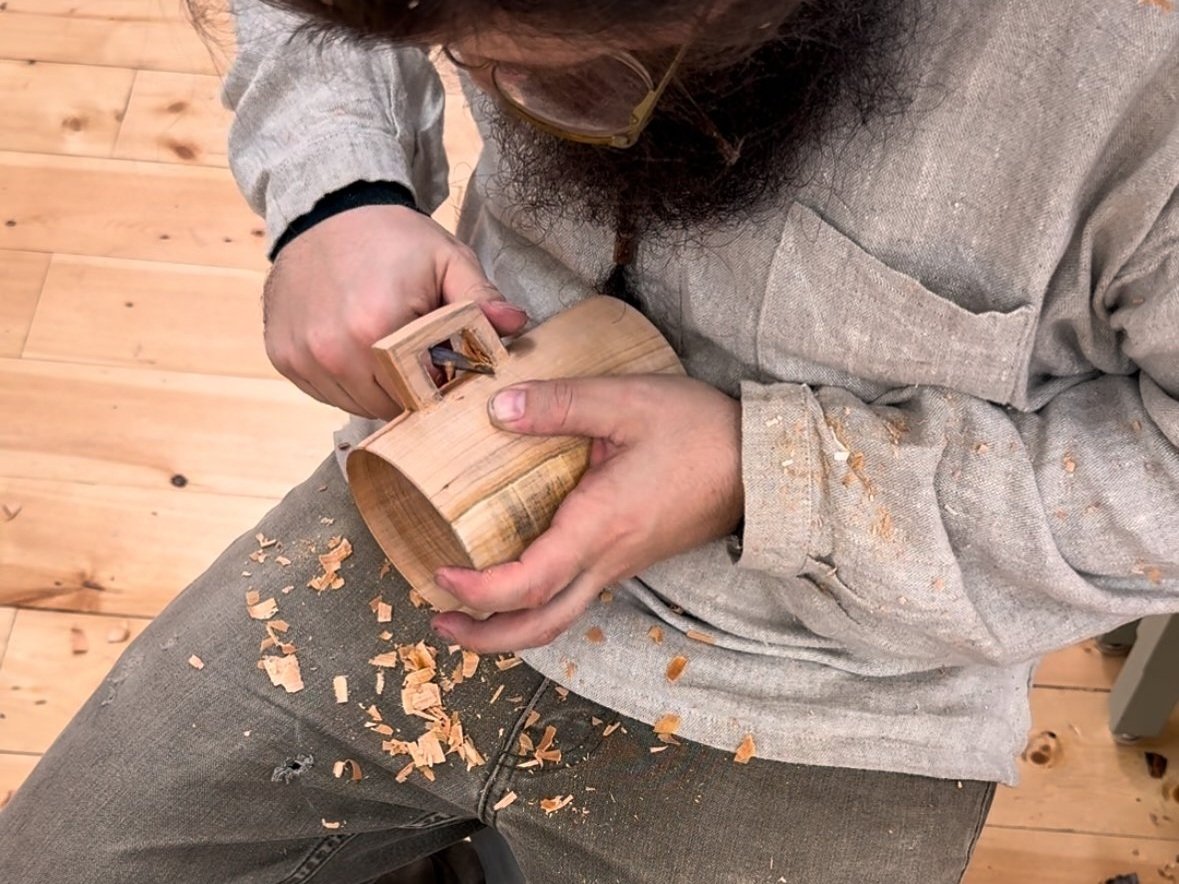
In this image I had just used a hand saw and an a few carefully placed axe strikes to narrow the projection closer to the final width of the handle. Starting with a thicker projection better protects the handle when rough turning between the projection as the tool can knock into the handle with considerable force. After reducing the handle projection, I then made a light pass of cuts bringing the turned surface right up to the final handle width.


Hollowing proceeded as usual. Once the core was broken free, I drilled a hole in the handle and carved the final shape.
Day 5:
Our final day together began with forging two more tools. The first of the two was a copy of Jarrod’s scraper tool he uses for cutting the flanges/tabs for locking lidded boxes.


The second tool was a copy of Jarrod’s unique hook he designed for undercutting the core of end grain cups.


After completing the tools I took the opportunity to turn a few mandrels on Jarrod’s western style electric lathe. This was the second time I’ve stepped up to a power lathe since my woodturning journey began in 2017. My first time was in November 2023 while assisting a pole and power lathe turning class that Jarrod taught at North House Folk School.
Since turning spindles on a pole lathe designed for bowls and cups is not ideal, I appreciated the opportunity to turn these on an electric lathe. In addition to the avoidance of turning mandrels on a pole lathe, I also appreciate that I will very likely have future students that step up to the pole lathe with some degree of power lathe turning experience. The more I understand western electric turning, the better prepared I’ll be to guide future students to transpose what they know to a pole lathe.


In the afternoon Jarrod and I sat down and discussed some of the in-and-outs of teaching this craft. Jarrod generously shared with me his teaching approach that he’s honed for years teaching hundreds of students. We also did a bit of improv with Jarrod role-playing a beginner student and presenting me with a few of the common pitfalls beginners face and gave me a more comfortable opportunity to practice guiding another persons tool while explaining the corrections. Coincidentally I also had the opportunity to practice this with a true beginner as later in the afternoon Jarrod was surprised by a visit from a friend of his, and his friend’s son. The son was curious about the lathe and I encouraged him to give it a try and allow me to instruct him. Within a minute he was making very nice shavings with the hook tool.

Once again, I am incredibly grateful to have the opportunity to be guided by Jarrod's expertise and am invigorated to contribute to the continuation and sharing of this traditional craft.

This project is funded by The American Scandinavian Foundation through an Artist Fellowship.