ASF Fellowship - Forging Tools for Teaching

A stand of pole lathe hook tools ready for their final grind and sharpen before being fit with wooden handles.
The most important aspect of my ASF Folk Artist Fellowship project is building the resources to be a strong force for the continuation of pole lathe turning.
With the support of the American Scandinavian Foundation, I was able to advance my tool making skills with my mentor Jarrod Dahl, which not only allows me to become more self-sufficient in my turning practice, but also sets me up with the skills to make tools for my future students. In September of 2024, I forged the first 12 standard bowl turning tools to be used as a travel kit for teaching.
Not long after the completion of these tools, Jarrod suggested we put them to the test in a pole lathe turning class we co-taught at North House Folk School in Grand Marais on November 8th-10th.
Working with hot metal

Over the course of a long weekend in September I dusted off my stash of 01 tool steel and deep cleaned the workshop. With the floor clear of the bowl turning mess, I rolled out a small propane forge I’ve been “storing” for my best friend Tom Bartlett for several years. Tom used this forge to make pole lathe turning tools in his pole lathe era. For those who may be unaware, Tom is a very accomplished green woodworker and developed his pole lathe skills while apprenticing with Jarrod from November of 2017 to February of 2018. Storing Tom’s forge is one of the endless kindnesses he has shown me over the past decade of our friendship.
Drawing the steel
Drawing is the first of 7 fundamental skills of blacksmithing. The purpose of this skill is to make the metal longer and thinner. In the case of pole lathe tools made from rod steel, drawing is a necessary step to taper the end of the rod into narrow rectangle where the scrolled cutting edge will be. I’m using 01 tool steel for the 12 tools in my teaching kit; 6 large and 6 small standard hooks. The large hooks are ideal for roughing cuts, while the small hooks are more ideal for finishing cuts and cutting the core.

I previously put a square taper on the handle-end of these 01 tool steel “blanks.” The purpose of these squared ends is to prevent the steel rod from spinning free in the hole drilled in the wooden handles.

The tool blanks in this stage have been drawn out to a small rectangle where the knife edge will be ground.
Getting my grind on
After drawing the cutting ends of the tools, I took to my belt grinder to clean up the tapered sections, then ground a flat bevel on the left side of each blank.


Just scrollin’ with it
The second fundamental of blacksmithing used in the making of pole lathe turning tools is bending. The goal of this step is to bend the section I ground a bevel on into a neat little scroll. As you can see my forging tool kit is pretty amature. I use just a regular claw hammer to gently scroll the tips of these tools over the square edge of my little track anvil. My multitool pliers and a very tiny double round pliers from a beginner jewelry kit help me make fine adjustments to the scroll. After getting two burns on my hand from hot scale popping off the scroll I replaced that tiny little pliers with a larger pair that keeps my hand a little farther away from the hot metal. Glowing 01 tool steel is somewhere around 1450°F and 1800°F.


Molecular metal magic
Full disclosure, my understanding of the science behind hot working metal is very entry-level. When it comes to heat treating and hardening, I’ve followed my mentor’s simple and cavalier approach to normalizing and heat treating my 01 pole lathe tools.
When the metal shaped with the hammer, there’s a bit of stress added to the metal. To relax that stress, and encourage a more even crystalline structure, the tools are heated to glowing red temp then allowed to cool to room temp. This process is called normalizing.
Because 01 has a tendency to air harden on its own, I’ve been taught to allow the tools to air harden and skip oil quenching and annealing. The result is suitable for pole lathe turning as the stress on these tools is far less than that of tools used for power lathes. I’ve turned with tools made this way for years with little to no issues.
In 2025 I have plans to gain a deeper understanding about tool making from a professional knife maker. I expect what I will learn will inform my process for pole lathe hook tool making.
Back to the grind
With all my scrolls in a row I got back to my grinder to clean up and flatten the outside of each scroll, as well as true up the cutting edge. I also took this opportunity to round off any corners and clean up the surfaces around the scrolled ends.


The next step ground the final edges from the inside of each scroll with a Dremel and a cone bit.


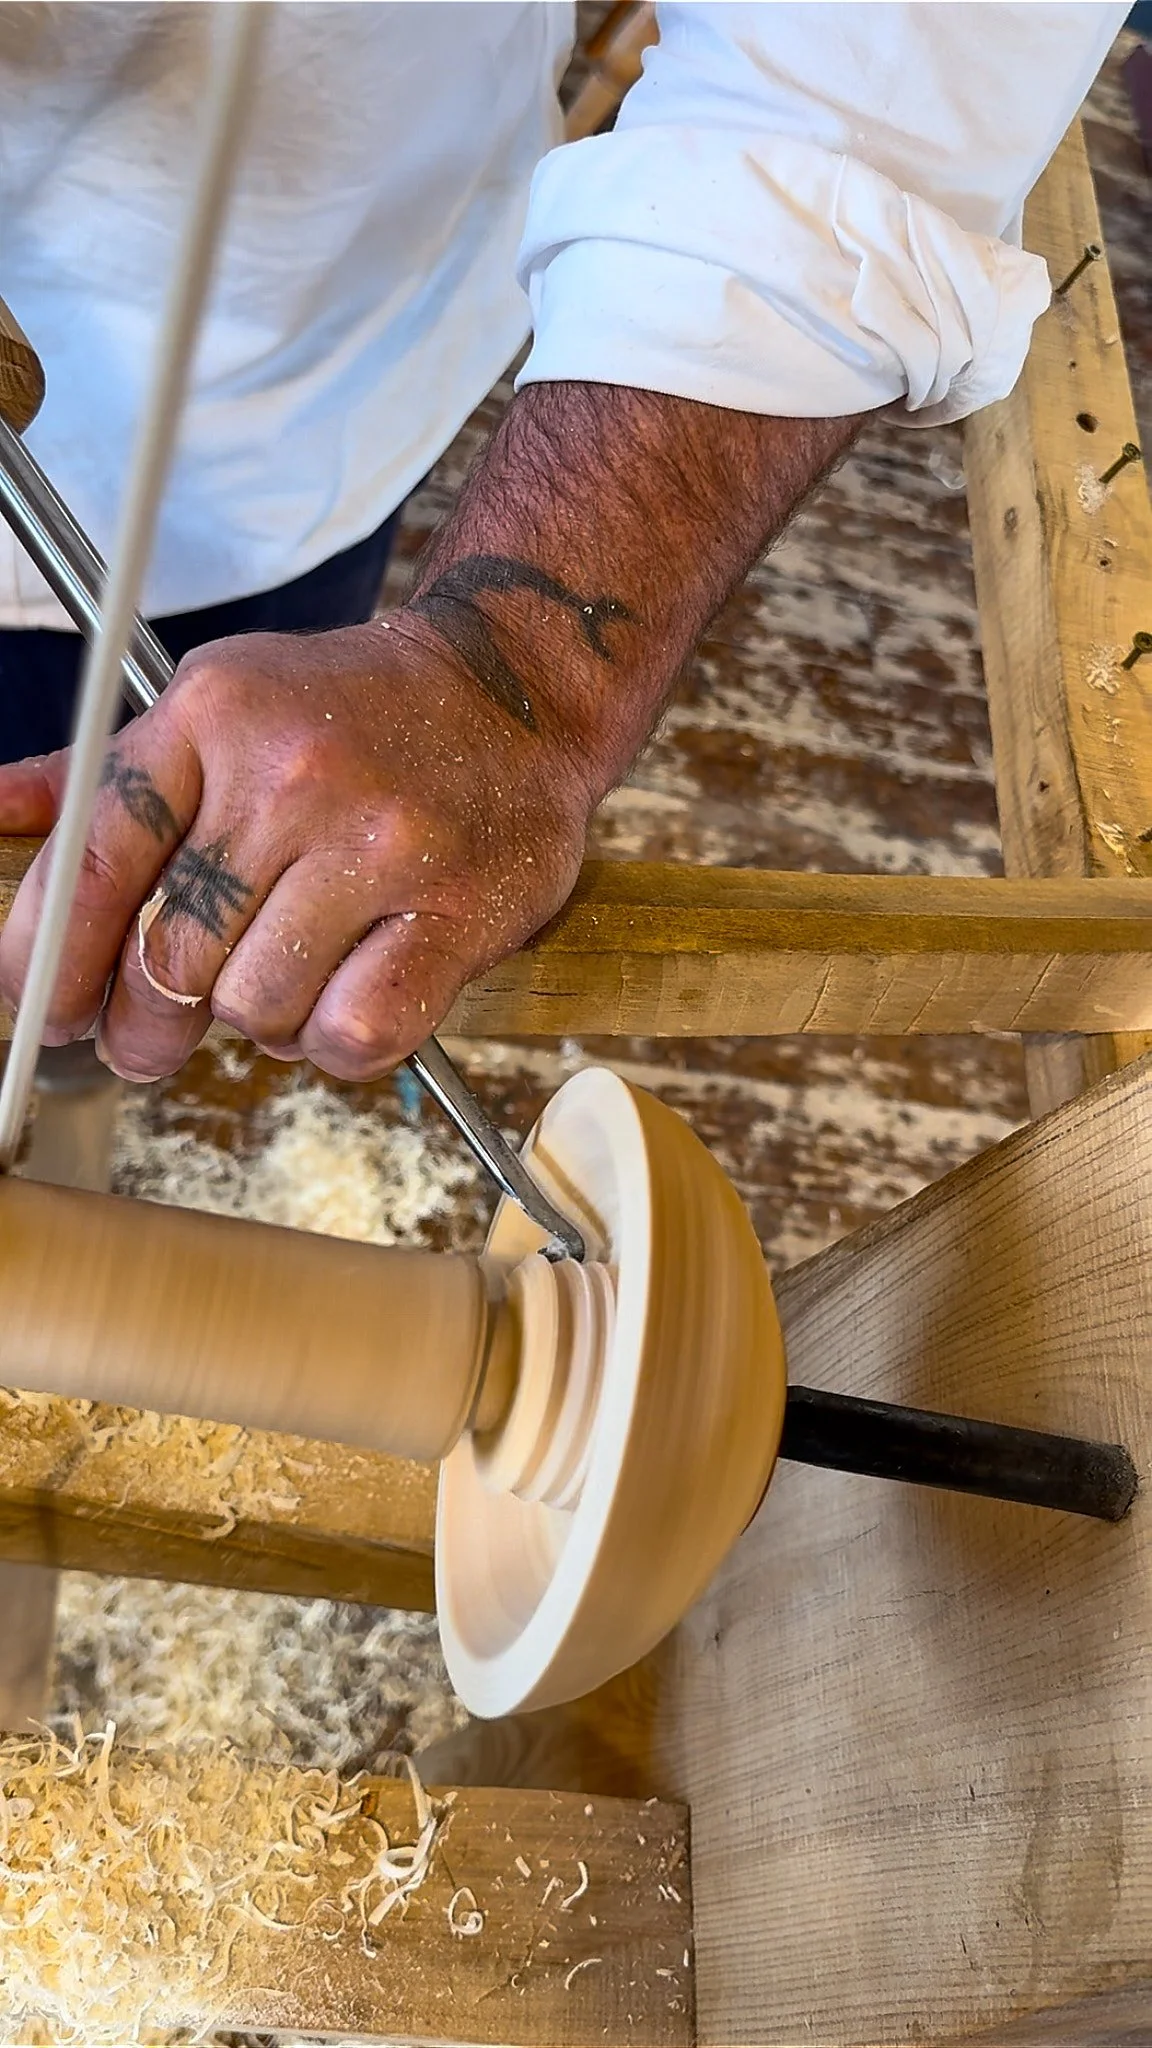
Putting my tools to the test


I needed to test these hooks before calling this kit complete. To do so I turned the outside of a bowl from some cherry, making sure to test the limits of the tool and the cuts it can make. I found the scrolls were a little too closed and had a tendency to clog with shavings so they all got an extra tweak with the Dremel. After adjustments I took the tools back to finish hollowing the bowl. I turned the largest core the tools would allow and made a smaller bowl from that core. Great success!
Travel case
A while back I saw a IG post made by fellow green woodworker, Owen Thomas, where he shared a box he made for his pole lathe tools. Knowing my tools were going to get some serious mileage, I figured they deserved a travel case like Owen’s.

Owen shared with me a tip to fill of the hook chambers with foam to prevent damage to the edges. I packed the chambers tight so they also acted as a bit of a spring. When I fill this box up with tools it kind of reminds me of packing an electronic with a dozen batteries.
I also added some bells and whistles. Two birch branch handles, a turned oak knob, and a lick of blue paint.


Finally, the pièce de résistance: a wooden spring latch. I’ve always wanted to make a latch like this.
North House Folk School Pole Lathe Turning: the final test


This was a true test of my teaching tools as it’s one thing to test them myself as an experienced bowl turner in the comfort of my shop, and it’s a whole different situation to put these tools into the hands of a beginner. This by no means is a criticism of beginners. Everyone has to start somewhere and mistakes are guaranteed. Pole lathe turning is a very challenging skill to learn! I distinctly remember the struggle I experienced when learning this craft in this very same class in 2017.
I’m very proud of what our students accomplished and I was relieved that the tools did their job. Edges were holding and easy to maintain. The tools endured a fair share of tool catches and a couple drops. The growing pile of wood shavings on everyones lathe bed was a testament to their growing skill.
Although I expect I’ll tweak my tool specs and process in the future, I only have one significant constructive note for myself: For the next class I’ve got to make more hooks so I may offer some for sale. These tools are the biggest hurdle to entry into pole lathe turning. While there’s a bit of room for interpretation with building your own lathe for the first time, there’s a level of nuance to the cutting theory and fabrication of the tools that just takes time and effort to learn, as well as a whole different set of skills and access to metal working equipment.
This work was made possible through the support of an Folk Artist Fellowship awarded to me by the American Scandinavian Foundation. Opportunities like this are a great privilege and I’m very grateful for the kickstart this project has given me in my goal to continue this craft and pass this knowledge on.
